| Package Data | |
|---|---|
| Maintainer Username: | Silvanite |
| Maintainer Contact: | m2de@outlook.com (Marco Mark) |
| Package Create Date: | 2018-09-06 |
| Package Last Update: | 2023-04-29 |
| Language: | PHP |
| License: | MIT |
| Last Refreshed: | 2026-02-02 03:21:01 |
| Package Statistics | |
|---|---|
| Total Downloads: | 252,068 |
| Monthly Downloads: | 3,509 |
| Daily Downloads: | 96 |
| Total Stars: | 101 |
| Total Watchers: | 8 |
| Total Forks: | 33 |
| Total Open Issues: | 28 |
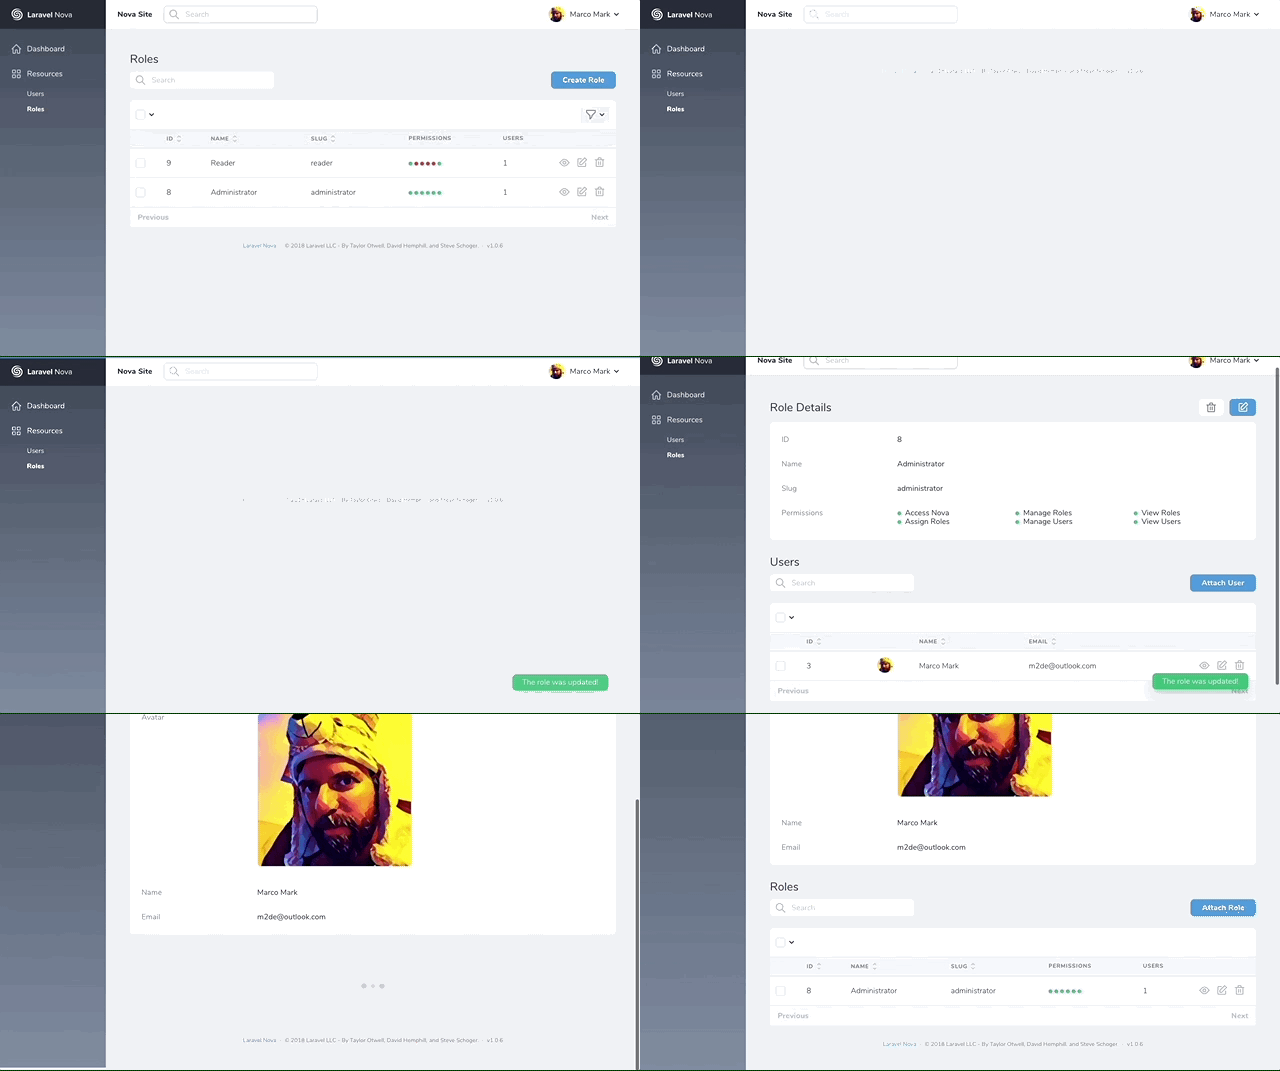
Add Access Control by means of User based Roles and Permissions to your Nova installation. Includes default User and Role Policies which can be managed through your Nova Admin Panel.

This tool uses the Silvanite\Brandenburg package under the hood to manage user roles. Brandenburg is used because it has clear separation of concerns
Roles are defined in the Database
and
Permissions are defined in the Codebase
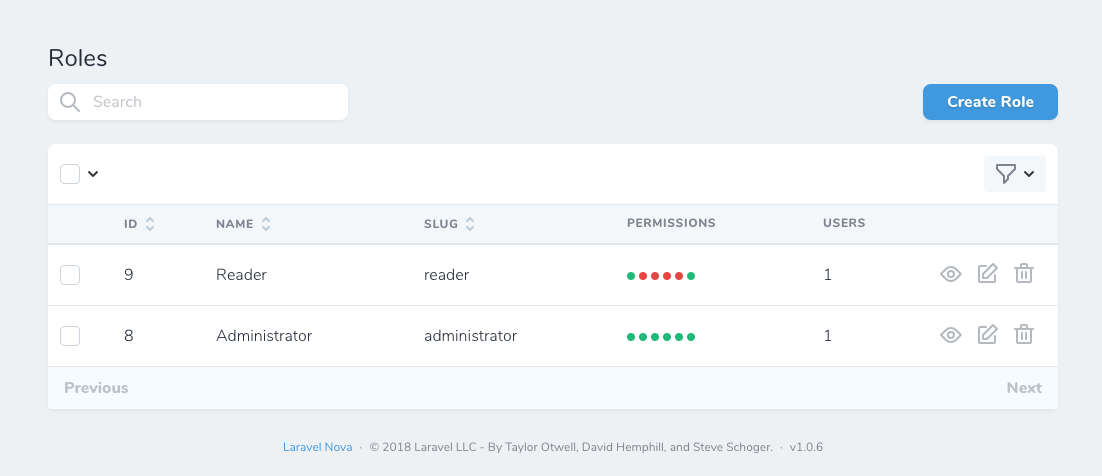
As a result, you won't see any Permissions resource. The Roles resource will get the permissions from the Gates defined in your code.
Install the tool through composer
composer require silvanite/novatoolpermissions
Run the migrations to add the database tables required by Brandenburg.
php artisan migrate
Add the HasRoles trait to your User model as per the Brandenburg installation instructions.
// app/User.php

use Silvanite\Brandenburg\Traits\HasRoles;

class User extends Authenticatable
{
    use HasRoles;
    ...
}
Load it into your Nova Tools to display the Roles within your Resources
// app/Providers/NovaServiceProvider.php

use Silvanite\NovaToolPermissions\NovaToolPermissions;

public function tools()
    {
        return [
            new NovaToolPermissions(),
        ];
    }
You can assign Users to Roles from the Role resource, however if you want to assign Roles from your User resource you will need to add an additional relationship ...
// app/Nova/User.php

use Silvanite\NovaToolPermissions\Role;

public function fields(Request $request)
{
    return [
        ...
        BelongsToMany::make('Roles', 'roles', Role::class),
    ];
}
If you are not using the defaul App\Nova\User Resource you can customise this by publishing the `novatoolpermissions config and setting your User resource model.
php artisan vendor:publish --provider="Silvanite\NovaToolPermissions\Providers\PackageServiceProvider"
Remove the default viewNova Gate to use the Gate included by this package. You will need to keep the gate() method in place, just empty it.
Note: Nova will always allow access in development environments.
// app/Providers/NovaServiceProvider.php

protected function gate()
{
    //
}
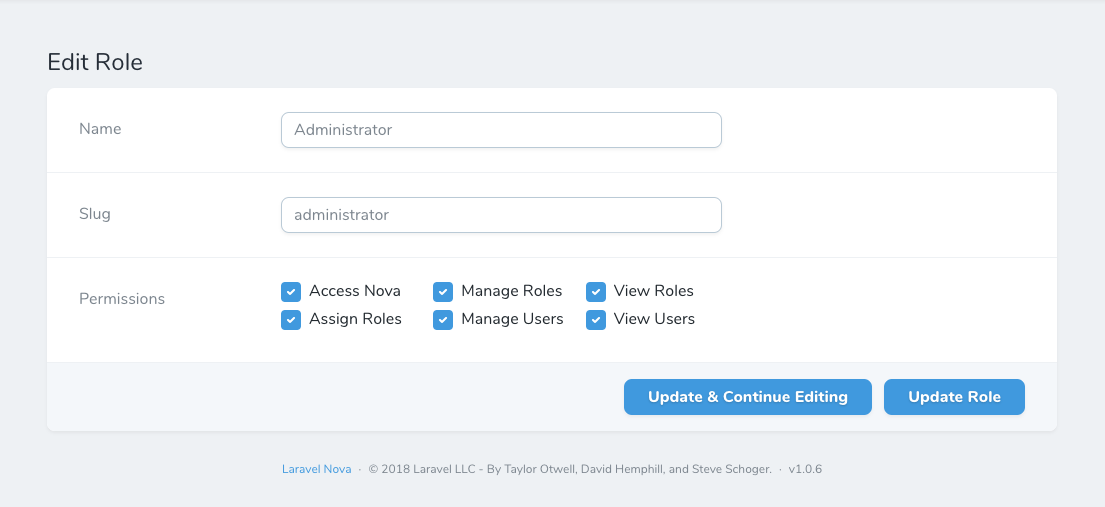
Once installed, go ahead and create your first Role. E.g. Administrator and assign all permissions to your new Role.

Finally assign the Administrator Role to your user account.


Note: By default, the package allows anyone access to a permission if no single user has access to it. This is to prevent you from locking yourself out of features. As such, it is important to define your primary admin role which has access to all permissions, meaning nobody else has access unless you specifically grant it.
This package comes with a set of default permissions to provide full access control to the package's functionality. Permissions come with default english translations to provide a better user experience. You are free to replace these with translations in your applications json translations.
{
    "viewNova": "Access Nova",
    "viewRoles": "View Roles",
    "manageRoles": "Manage Roles",
    "assignRoles": "Assign Roles",
    "viewUsers": "View Users",
    "manageUsers": "Manage Users"
}
To create your own permissions, simply define them in your service provider and create a Policy for your resource/model. Let's work with a common Blog example and assume that you have a Blog Model and Resource in your application.
Create a Policy for your Nova Resource
Create a new policy for your blog
php artisan make:policy BlogPolicy
Let's assign the Policy and define our Gates.
// app/Providers/AuthServiceProvider.php

use Silvanite\Brandenburg\Traits\ValidatesPermissions;

class AuthServiceProvider extends ServiceProvider
{
    use ValidatesPermissions;

    protected $policies = [
        \App\Blog::class => \App\Policies\BlogPolicy::class,
    ];

    public function boot()
    {
        collect([
            'viewBlog',
            'manageBlog',
        ])->each(function ($permission) {
            Gate::define($permission, function ($user) use ($permission) {
                if ($this->nobodyHasAccess($permission)) {
                    return true;
                }

                return $user->hasRoleWithPermission($permission);
            });
        });

        $this->registerPolicies();
    }
}
Finally, specify the access control in your Policy as per the Nova documentation.
// app/Policies/BlogPolicy.php

public function viewAny($user)
{
    return Gate::any(['viewBlog', 'manageBlog'], $user);
}

public function view($user, $post)
{
    return Gate::any(['viewBlog', 'manageBlog'], $user, $post);
}

public function create($user)
{
    return $user->can('manageBlog');
}

public function update($user, $post)
{
    return $user->can('manageBlog', $post);
}

public function delete($user, $post)
{
    return $user->can('manageBlog', $post);
}

public function restore($user, $post)
{
    return $user->can('manageBlog', $post);
}

public function forceDelete($user, $post)
{
    return $user->can('manageBlog', $post);
}
And add your labels to your translations to keep everything tidy.
{
    "viewBlog": "View Blog",
    "manageBlog": "Manage Blog"
}
This example is a super-simple implementation. You can define your Gates as in any standard Laravel Application and can simply add the additional checks to validate them against your assigned Roles and Permissions.
If you require any support please contact me on Twitter or open an issue on this repository.