simtabi/lapload

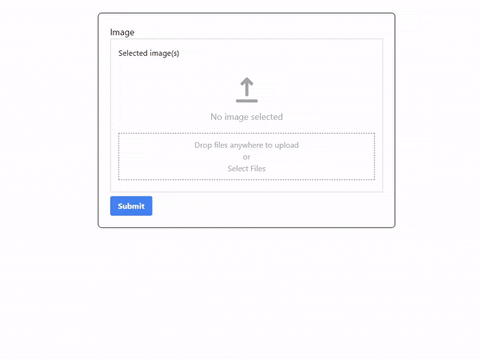
Demo
Features
- Upload image
- Upload multiple images
- Remove image
Requirements
- Laravel Livewire 2.0
Installation
You can install the package via composer:
composer require simtabi/lapload
Usage
Add the Livewire directive into component blade page (E.g form-component.blade.php).
<livewire:lapload" name="foo">
or
<livewire:lapload" name="foo" size="2048" multiple>
| Props | Type | Required | Description |
|---|---|---|---|
| name | string | ✅ | Parent component public properties to store uploaded images name. |
| multiple | bool | ❌ | Enable multiple upload. (Default: false) |
| size | int | ❌ | Image size limit. (Default: 1024KB) |
Add public properties to store the name of the images uploaded in array and use the ImageUploader trait in the component code (E.g FormComponent.php).
<?php
namespace App\Http\Livewire;
.
.
use Simtabi\Lapload\Traits\HasLapload;

class FormComponent extends Component{
    use HasLapload;
    public $foo;
}
Every time there are changes on the images (remove/upload), the component will trigger an event which trigger method in the parent component. The method will update the $foo properties with an array of new images name.
Uploaded File
For now all uploaded images will be stored inside storage/public/lapload. To access the image from the frontend you need to create a symbolic link from public/storage to storage/app/public. To create the symbolic link run:
php artisan storage:link
To display the image in frontend:
<img src="https://raw.githubusercontent.com/simtabi/lapload/HEAD/{{ asset('storage/lapload/' . $imageName) }}">
Styling
To add the styling, you need publish the package assets folder to your project public folder. To publish the package assets folder run:
php artisan vendor:publish --provider="Simtabi\Lapload\LaploadServiceProvider" --tag="assets"
Next, include the css file inside the assets folder in your HTML page section:
<head>
     ...
    <link href="{{ asset('lapload/css/app.css') }}" rel="stylesheet">
</head>