| Package Data | |
|---|---|
| Maintainer Username: | allay |
| Maintainer Contact: | zlschuessler@gmail.com (Zachary Schuessler) |
| Package Create Date: | 2016-12-09 |
| Package Last Update: | 2024-07-02 |
| Home Page: | |
| Language: | PHP |
| License: | NLPL |
| Last Refreshed: | 2026-02-07 15:02:09 |
| Package Statistics | |
|---|---|
| Total Downloads: | 428,040 |
| Monthly Downloads: | 3,404 |
| Daily Downloads: | 16 |
| Total Stars: | 26 |
| Total Watchers: | 1 |
| Total Forks: | 12 |
| Total Open Issues: | 3 |

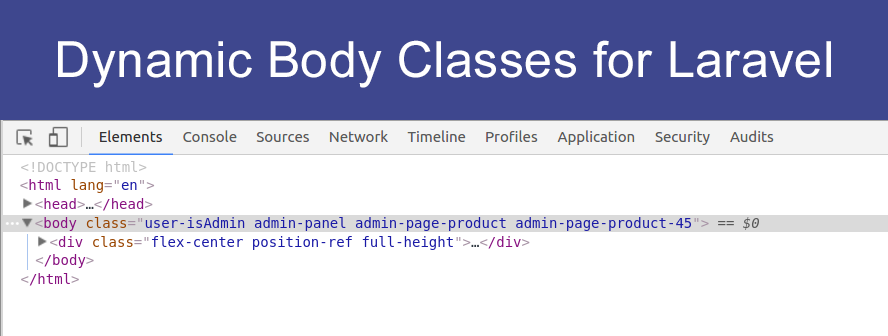
Quickly add body classes to your Laravel app based on rules you set.
Example of implementations:
user-isGuest as a class.admin-panel as a class.user-profile as a class.It's easy to write your own rules! You can either write your own generator classes or use the ad-hoc API by interacting with the library singleton directly.
Require the package in your composer setup.
composer require zschuessler/laravel-route-to-class
Publish the configuration file
Run the following command in the root directory of your project:
php artisan vendor:publish --provider="Zschuessler\RouteToClass\ServiceProvider"
Use In Layout
You can either use the included Blade directive, or access the Route2Class facade directly for outputting your classes.
Blade
Two important notes for using the Blade directive:
<body class="@route2class_generate_classes"></body>
Facade
Facades are not cached in the manner Blade directives are, making them great for development environments. And because we aren't using a Blade directive, you can modify classes and generators within view templates too.
Use it in any of your views like so:
<?php
// This is now possible, too:
\Route2Class::addClass('test');
?>


<body class="{{ \Route2Class::generateClassString(); }}"></body>
You can implement your own rules in one of two methods.
This is the preferred method since you will always know where your class modifiers ( called generators) will live.
First decide where you would like to keep your generators. For the purpose of this example we will use the following directory:
app/Providers/RouteToClass/UserTypeGenerator.php
All you have to do is extend the GeneratorAbstract.php file and implement a method
which returns the class string. See below for a simple example:
<?php

namespace App\Providers\RouteToClass;

use Zschuessler\RouteToClass\Generators\GeneratorAbstract;

class UserTypeGenerator extends GeneratorAbstract
{
    public function generateClassName()
    {
        // Use your own logic here to determine user type
        $userType = 'admin';

        return 'user-' . $userType;
    }
}
Next add a reference to the generator in your /config/route2class.php configuration:
App\Providers\RouteToClass\UserTypeGenerator::class,
Now when you call the facade or Blade directive in a view template, you will
see the class user-admin - neat!
See this file for a real-life generator example:
https://github.com/zschuessler/laravel-route-to-class/blob/master/src/Generators/FullRoutePath.php
You can interact with the body classes directly by calling the addClass method on the
provider.
Here's an example using the default Laravel project's routes file:
Route::get('/', function () {
   // Add static class as string
   Route2Class::addClass('homepage');

   // Add class from anonymous function
   Route2Class::addClass(function() {
       // Your custom logic goes here
       return 'my-anon-class-name';
   });

   return view('welcome');
});
You can call the addClass method anywhere - models, controllers, etc. Consider adding
generator files instead, as it promotes application maintainability and reduces technical debt.
The demo project below follows the examples outlined above:
https://github.com/zschuessler/route2class-demo
This is public domain. Do what you want.